
Since I went to the trouble of making my own soup, I thought it only appropriate to make my own bread to go with it.
I was drawn to these recipes because of their short and simple ingredients lists. I thought it'd only take me a few hours...I did not read the instructions very carefully--I had to let is rise for at least 12 hours! Yeesh...so, briefly, I was discouraged. However, the idea kept calling to me, so after a bit more recipe searching, I came across more general instruction on how to Bake your own bread. I don't really know why, but I suddenly decided it was worth the effort and the wait.

Baking bread ended up being very fun and easy, especially with such a basic recipe. There's really not much effort involved, other than patience...it's a lot of waiting. About the ingredients, the recommendation from the instructions was "a quarter wholemeal to three quarters white flour," but I went all spelt. I used instant yeast, because that's what I had in preparation for the aforementioned bread recipes. I did not have 600 grams of spelt flour, so I just halved the ratios. Here's what I did...
Basic Spelt Bread
Yields two small loaves

Ingredients:
- 300 grams spelt flour
- 10 grams fine sea salt
- 5 grams instant yeast
- 300 ml water
- Olive oil ("a glug" is the measurement)
1. In a large mixing bowl, weigh out and mix your flour, salt and yeast.
2. Form a well in the middle of the dough, into which you pour your water and oil (so make it deep, so the water doesn't spill everywhere).
3. Gently begin mixing the water into the dough. You can begin by running your finger along the edge of the well until enough has mixed that your free of the threat of mess.
4. Once sufficiently mixed, remove dough from bowl and, on lightly floured surface, knead your dough (for about 10 minutes, according to the instructions)
5. Lightly coat your mixing bowl in butter (or flour) and shape your dough. Place your dough ball into the bowl and cover with plastic wrap to avoid a crust from forming while you let it rise. Place in a warm area and wait until it doubles in size*
6. Once it has risen, punch it down and let it rise again.
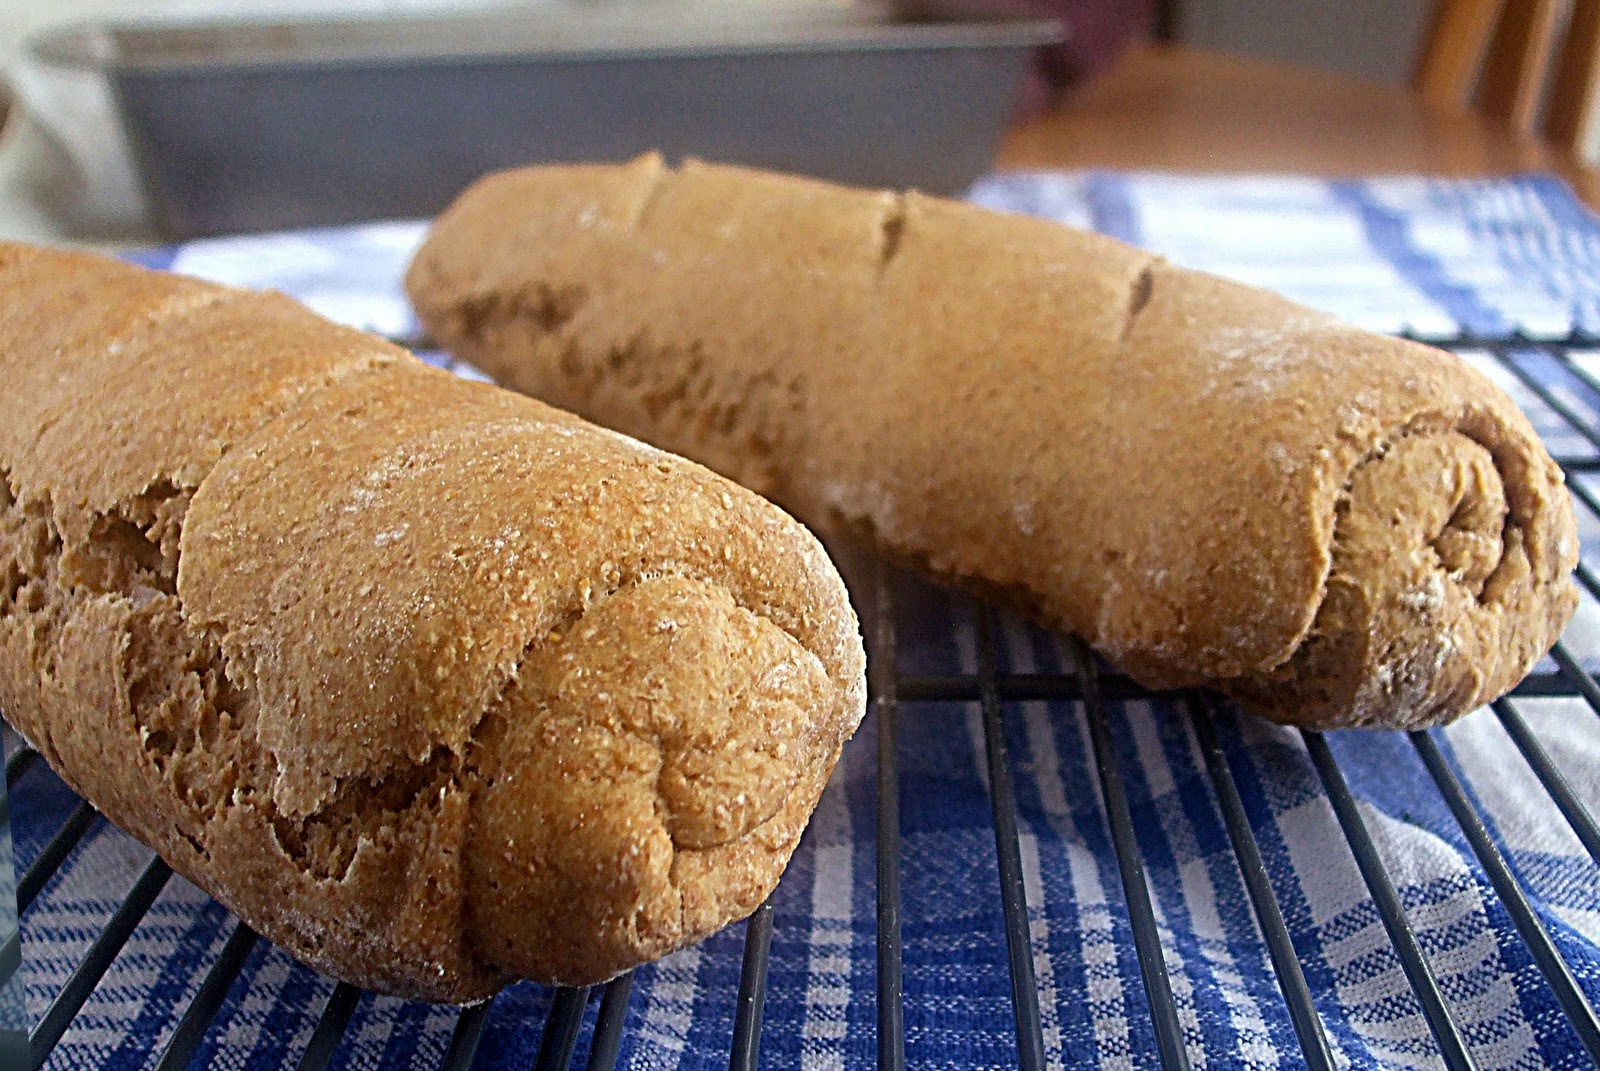
7. After the second rise, divide your dough in half (using a scale is recommended) and begin shaping them into loaves. Here are the instructions I followed...
- On a lightly floured surface, flatten your dough into a rectangular shape.
- Roll up like a jelly roll, then flatten again.
- Fold one end of the dough to the middle, then fold the other end over it, so you have three layers.
- Flatten one more time and roll it like a jelly roll again.

8. Let the loaves sit, seam side down, for another 30 minutes. While you wait, preheat your oven to 400F and put in your bread pan, lined with parchment paper. Find a roasting pan, or some other large heat proof container** and boil a kettle.
9. When your half hour is up, place loaf in the bread pan, seam side down, and cut three slices on the top. I baked my loaves one at a time because I have read that it results in more even baking, but I've never actually compared the results...I'd rather be safe than sorry.
9. Now...the scary part...open your oven, and put roasting pan on the bottom, or the bottom rack. Pour boiled water into the pan, and slide your bread on to the center rack, overtop the water. Shut the door!
10. Bake for about a half hour, turning once at the 15 minute mark. Mine was good after the 30 minutes, but I read that you check by knocking the bottom--a hollow sound means it's done.
11. Repeat for each loaf. Serve warm.
*I put mine in my dehydrator set to 115F. It doubled in much less time [maybe 5 hours?] than 12 hours, but I wasn't prepared to bake it right away, so I let it sit for the full time allotted.
**I used a big saucepan...my oven is frustratingly small.

OMG I LOVE BREAD! I also love making bread!! I have a really good roll recipe I should show you. They're somewhere in between pretzels and rolls.
ReplyDeleteI have never made bread before, but I have always wanted to try! This blog is so inspirational, haha!
ReplyDeleteWhen you are going in for a microwave, attempt to select a microwave that supplies you a variety at various degrees. Do bear in mind that the power defined by a microwave producer is the optimal power that can be supplied by it. Some of the certain functions supplied by the best oven in india is vehicle programs, chef or thaw features, temperature level probes, youngster lock, sensing units, detachable shelves, crisping features, and so on.
ReplyDelete